 PREVIOUS
NEWS
PREVIOUS
NEWS
PREVIOUS
NEWS
PREVIOUS
NEWS
| Edgar George
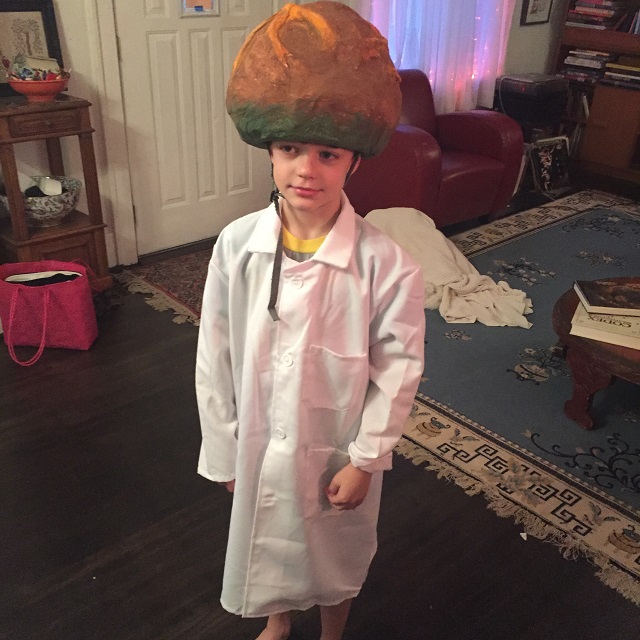
Zomboss achieved his Doctorate in Thanatology in only two years. Dr Edgar George Zomboss is the main antagonist and the leader of the zombies in the Plants vs Zombies series. |

|
| Here we capture a rare glimpse of
him as he has invaded Ireland !! This is REALLY way more than I desire to know of his exploits and terrorizing !! |
|
| Thanatology is the scientific study of death. It investigates the mechanisms and forensic aspects of death, such as bodily changes that accompany death and the post-mortem period, as well as wider psychological and social aspects related to death. | |
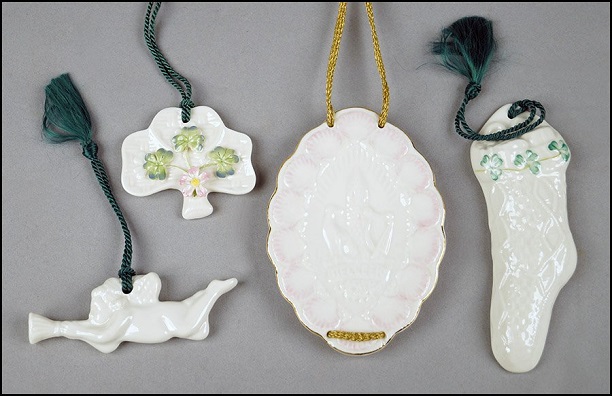 |
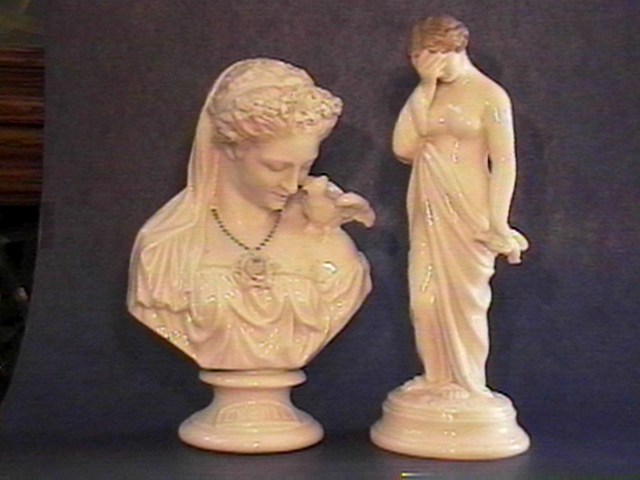
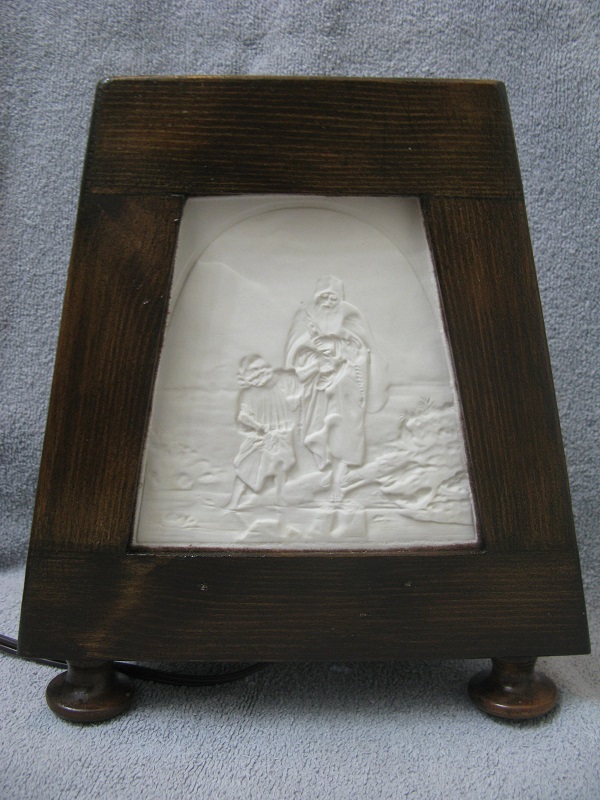
| Catalogue Description : THREE BELLEEK PORCELAIN CHRISTMAS ORNAMENTS. Together with a Belleek porcelain oval shaped medal which reads 'Hall of Fame Honoree 1993 Lady Langham', bears Belleek red mark on back as well. Ornaments include a shamrock form with applied colored porcelain flowers, a cherub, and a stocking with painted shamrocks Largest ornament length: 5" |
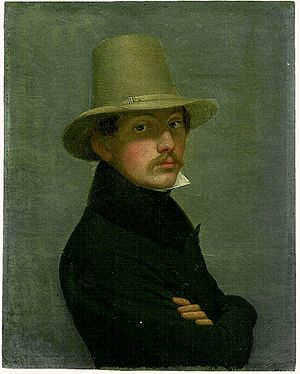
| Eduard Wilhelm Daege (10 April 1805 in Berlin – 6 June 1883 in Berlin) was a German painter who served as Director for both the Prussian Academy of Art and the National Gallery. View Right : Self-portrait (date unknown) |
 |

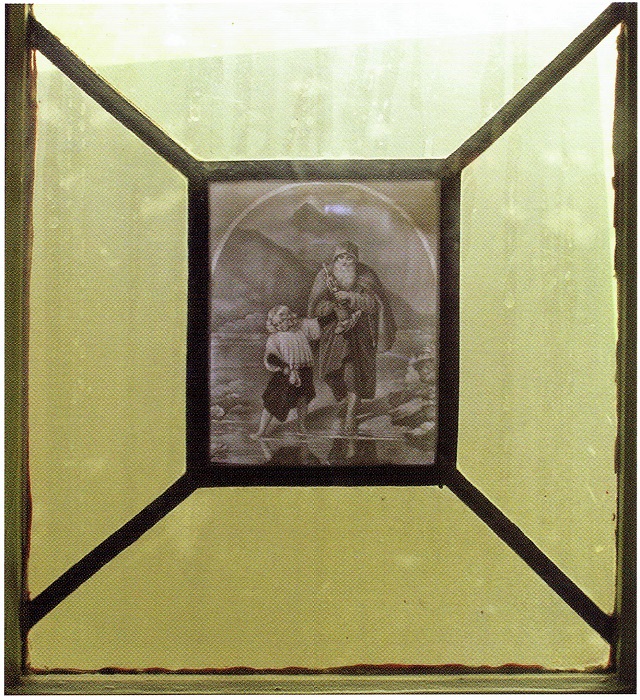


| First,
we have to gather together some tools !! |
|
 |
 |
| Drills
are a definite necessity !! |
|
 |
 |
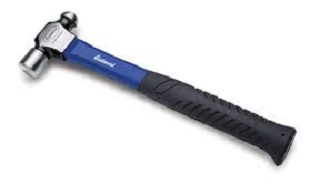
| Hammers
provide fun for ALL !! |
|
 |
 |
| Sandpaper is a
DEFINITE requirement !! |
|
 |
 |
| BUT,
we CAN'T forget the Screwdrivers !! ESPECIALLY, the liquid variety !! |
|
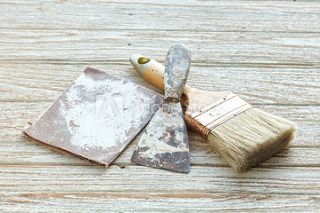
| Necessary
supplies, include, but NOT limited to .. |
|
 |
 |
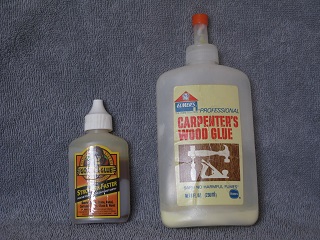
| Wood
glue and scraps are VERY handy for 'shearing-up' OLD frames !! |
|
 |
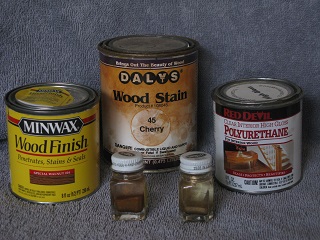 |
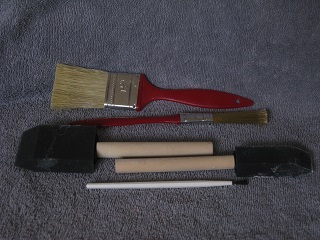
| Of course,
paint brushes and a variety of paints, stains and finishes are an absolute
necessity !! |
|
 |
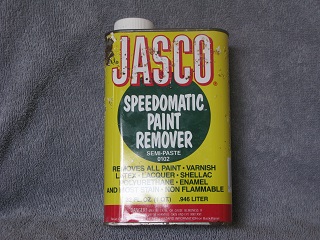 |
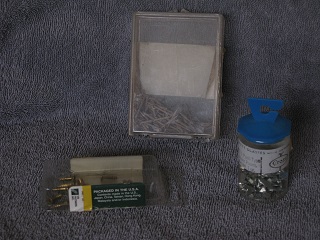
| A
good variety of screws and nails is another handy essential, as is a supply of paint remover and thinner !! |
|
 |
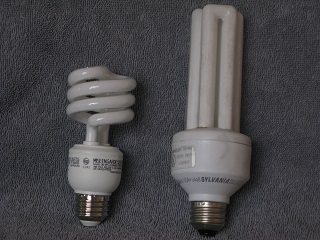 |
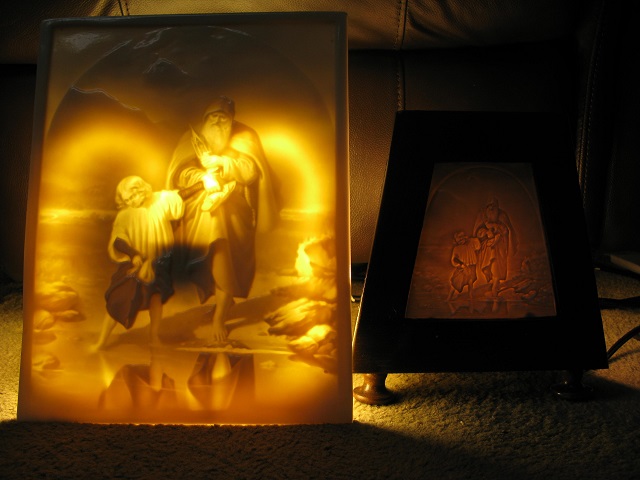
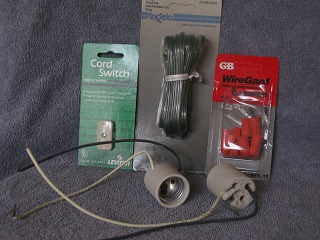
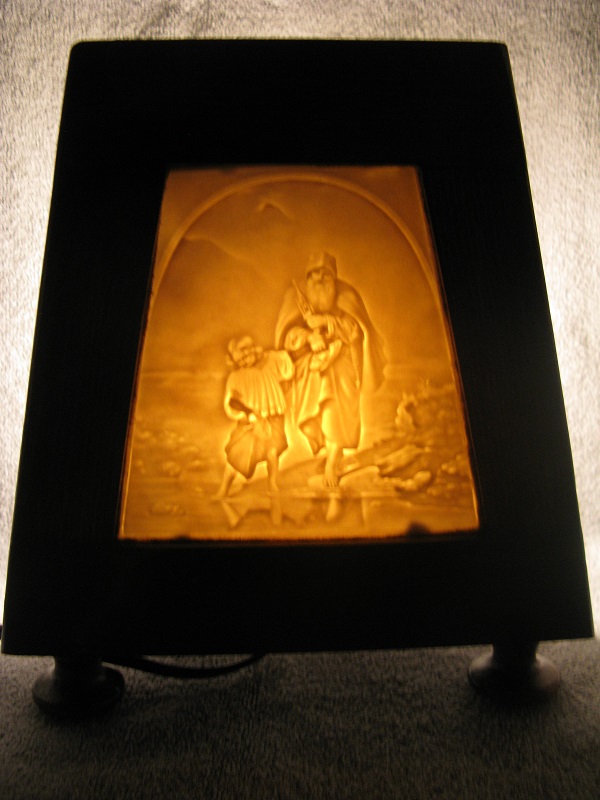
| And,
FINALLY, the MOST important items, the electrical fittings and bulbs !! |
|
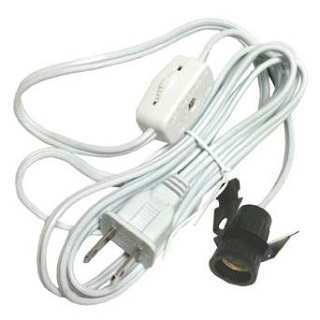 |
Discouvering
a '6 Foot Westinghouse Candelabra Base Snap In Pigtail Socket
Cord with Plug and Switch' was the absolute crossroads which, provided
the inspiration necessary to complete this project !! |
| .. if your 'Anxiety' level rises .. |
|
 |
 |
| Remain prepared to 'TRASH'
everything
!! You may ALWAYS begin again tomorrow !! And, REMEMBER, your 'Screwdriver' in reserve !! GOOD LUCK and .. May the Midas Touch be with you !! |
|